How to start with GIT?
I was wondering what GIT means. Here is what I have found:
GIT as a word is an alternation of the word get, which was shortened from begetting. The implicit reference is to illegitimate offspring, and the term is roughly synonymous with a twit, dolt, moron, or idiot. Within the open source community, the significance of the name choice varies.
It means GIT is for idiots that do not know what they are doing. The perfect tool for a software developer. Let us start from the beginning.
Linus Torvalds decided to develop it for the Linux kernel. From 2005 that helped developers track changes in the code. Available in all operating systems and used by users around the globe. Easy to start but hard to master version control system. You can download it from this site and try it by yourself.
Basics
Download and install git on your OS (Operating system). I am starting with the basics. To follow, you need to get familiar with terminal. After installation you should be able to execute some git commands. Create a new folder. Then open up a terminal within new folder. Let’s make a repository. To achieve it use a command bellow.
git init
Tools
There a few GUI (Graphical User Interface) Tools, which can help you geting into GIT.
If you are not a fan of terminal I bet you can use GitExtensions

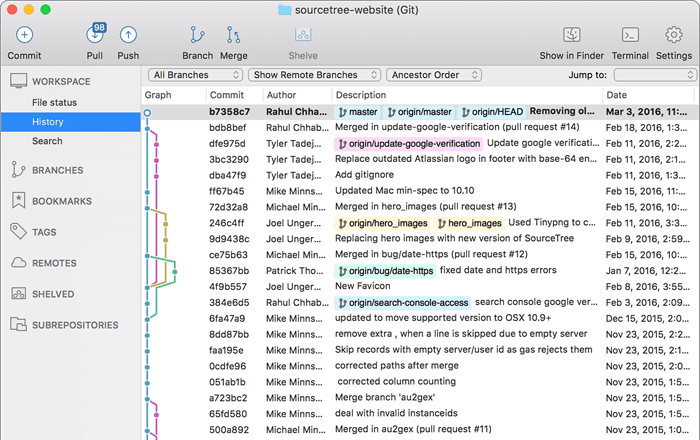
As an alternative you can use SourceTree it is a valid free to use alternative for Mac. I think if you are using Linux you can go with terminal as well.
Commit
Okay, so far good! Now let’s commit some files to it. I made an HTML file with the following content.
<h1>Hello there</h1>
and save it as hello.html. Now you are ready to add it to staging area. What is a staging area – let’s explain it as a box where you put stuff and then you use it as a snapshot to commit the changes. To do it you should specify the path to the file with the file format, or path with some pattern like
.txt .xml, etc.
Command for adding the hello.html in terminal
git add hello.html
You can also add all files
git add *
Then by typing:
git status
You should be able to see all files, which have been added by you to staging area.
Afterwards, you can commit the hello.html to your local repository.
git commit -m "Add hello there file"
commit – is a command that saves a snapshot of the “box” that we staged.
Commits message standards
I want to explain a few standards on how to deal with commit messages and how often you should be doing it. I heard that the more often you are doing it, the better. There is no limit, afterwards, you can always reduce the number of commits, by using the squash functionality. Let’s start with the form of the commit message. How it should be:
-
Use imperative statements in the subject line, e.g. “Fix broken Javadoc link”
-
Begin the subject line sentence with a capitalized verb, e.g. “Add, Prune, Fix, Introduce, Avoid, etc”
-
Do not end the subject line with a period
-
Keep the subject line to 50 characters or less if possible
-
Wrap lines in the body at 72 characters or less
-
Mention associated Jira issue(s) at the end of the commit comment, prefixed with “Issue: ” as above
-
In the body of the commit message, explain how things worked before this commit, what has changed, and how things work now
-
I also like to add some kind of tag of type before the commit message, here are some examples:
– Feature

– Bugfix

– Cleanup

– Hotfix
When you are working on a task it is good to add some number of tasks like #123 that reference some. In summary, it should look like that:
[FEATURE] #123 My super not quite long commit message.


Here goes body messages where we describe what is going on.
Keep it short as much as you can, but include all necessary details
inside.

Footer where summary and all other references should be applied for
example:
Those commits resolve issue #123 and #124
Git branches – tree of changes Commits can be added to branches. The branch is a set of commits that are separated from the main branch just like in a tree with leafs. To create a branch:
git branch <branch_name>
To switch branch
git checkout <branch_name>
After initializing the git repository you usually have one existing main branch from which all created afterwards branches can be derived. Use them to group some changes on the feature you are working on.
Workflow
I recommend getting familiar with a few concepts of GIT like a branch, rebase, merge and squash. After that, you can start thinking about how to work and manage your work as a software developer. I am a big fan of normalization and standards of workflows. I found a few methodologies that are popular nowadays while working with GIT.
- Gitflow
- Trunk
Choose first if you do not have any CI/CD tools in your toolset. The second one is great while working with a good technology stack and integrated code review tools.
Enjoy Reading This Article?
Here are some more articles you might like to read next: